In this article, we explain how to successfully run UpSearch’s proprietary Microsoft SQL Server inventory Tool (‘Tool’ or ‘Application). The Data Estate Assessment for SQL Server utilizes this Tool, an on-premises, agentless desktop Application with a small installation footprint. The digitally signed and antivirus whitelisted Tool finds, verifies, and securely collects information about each Microsoft SQL Server instance and the underlying Windows Operating System.
Step 1: Download & Install
Your order confirmation included a download link. Click the link to download the installation Setup Wizard. Keep in mind:
- Local Administrator credentials are required on the machines being scanned.
- We recommend running the Application outside of scheduled maintenance windows.
- Run the installation wizard on the machine that will be used to perform the scan.

Once the Tool launches, you will be prompted to read the End-User License Agreement.
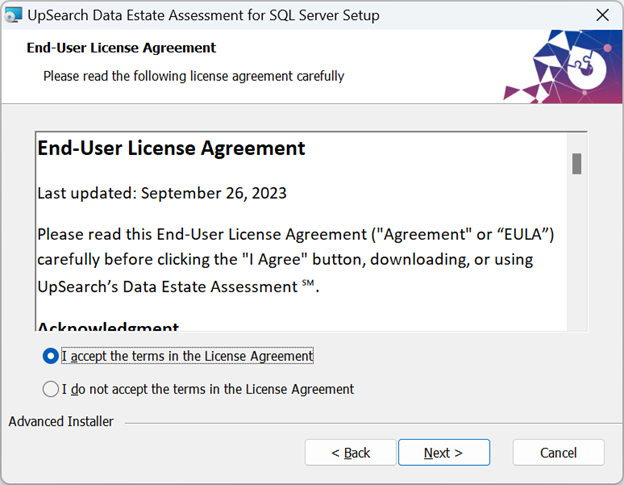
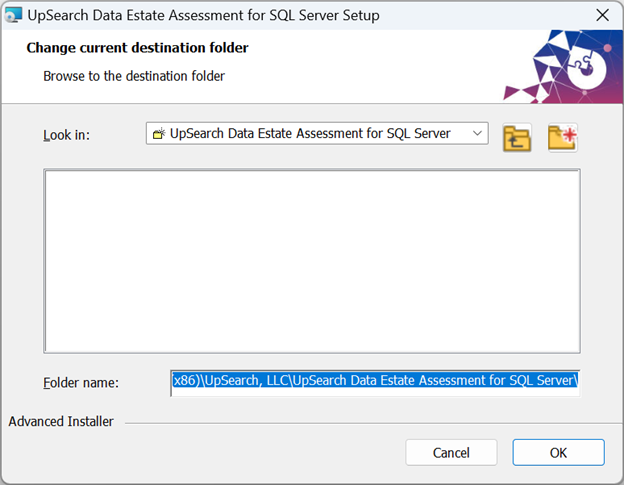
After accepting the License Agreement, select the installation folder.

Click Browse to change the current destination folder.
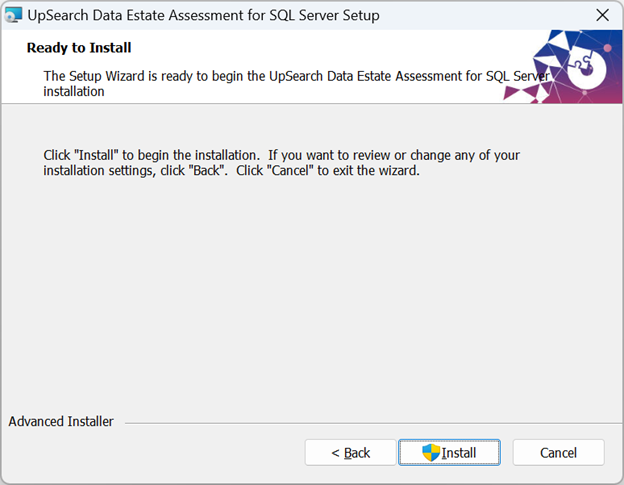
Once the destination folder has been selected, click Install to begin installation.
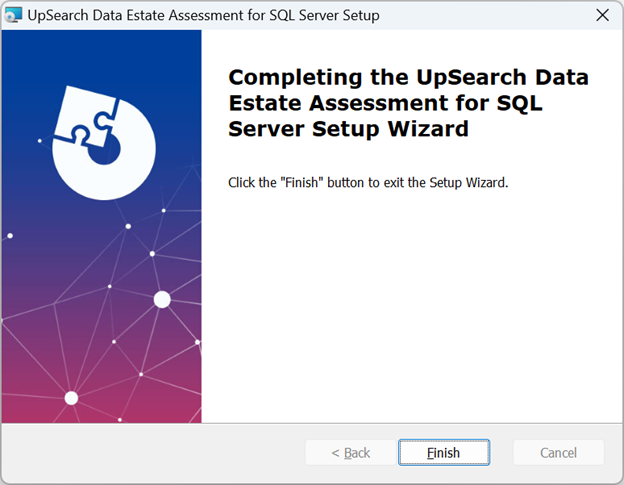
Once the installation process completes, click Finish to exit the Setup Wizard.
After the Setup Wizard closes, you will find this application icon on your desktop.
![]()
Step 2: Run Application
Double click on the desktop icon to launch the application. This splash screen confirms the successful launch of the application.

Assessment Scope Tab
The Tool provides multiple Discovery Methods for Domain Administrators to identify and locate SQL Server instances. It will find, verify, and collect information about each Microsoft SQL Server instance and the underlying Windows Operating System using any of the following Discovery Methods:
Main Discovery Methods:
- Active Directory DNS
- IP Subnet
- IP Range, required for public domains
- Computer Names
Additional Discovery Options:
- Exclude Subnets
- Limit Subnets
- Exclude Computer Names
Browse related knowledge base article: SQL Server Discovery Methods.

Output Tab
The following output settings are used for the name convention and placement of the output files.
- Organization Name: Specify the common use name of your organization for file naming purposes. For example, if your organization name is “UpSearch”, the Tool will name the output file as “UpSearch-2024-02-05-19-39.zip”. Capitalization is retained and the output files are date and time stamped.
- Output Directory (optional): Specify the literal path to the directory where you want the output files to be saved. If you do not provide a path, the system will use the ‘My Documents’ folder. Please make sure the directory allows write access.
Browse related knowledge base article: Output Settings.

When you’re ready, click Start Assessment and the scan will begin immediately. The scan operates very lightly and doesn’t require scheduling outside of business hours, although we recommend running the Application outside of scheduled maintenance windows.
Collection Results
To ensure the confidentiality and security of your data, assessment results and log file are SHA-256 encrypted and stored in a zip file. Furthermore, it is important to note that UpSearch retains exclusive control over the SHA-256 encryption key for the encrypted file. This stringent security measure ensures the safe and confidential transfer of your results, facilitating seamless processing and comprehensive analysis.
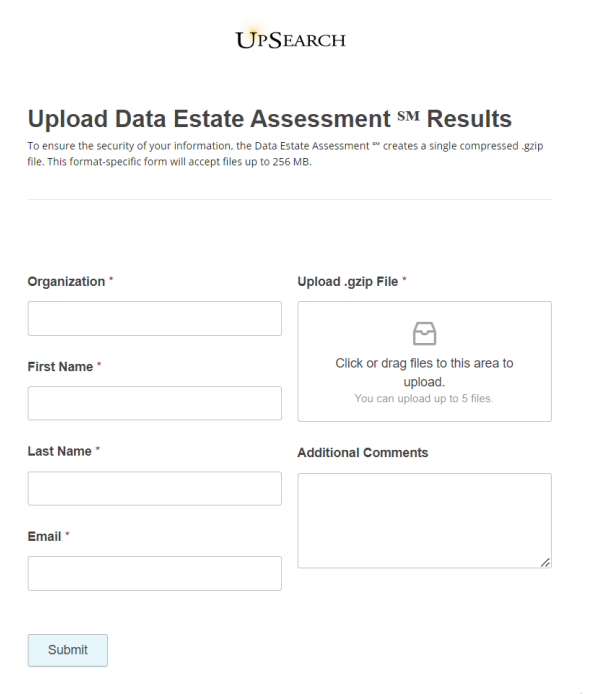
Step 3: Upload Results
You can confidently upload results to UpSearch’s secure environment for analysis here: Upload Data Estate Assessment ℠ Results.
Once we receive the results from you, we will give priority to processing the report.
If you have any questions about these Install Instructions, you can contact us by visiting this page on our website: https://upsearch.com/contact-us/.
